Article#210620: Footwear Production Standard Operating Procedure
What is Standard Operating Procedure…
Since the invention of modern day production assembly line by Henry Ford, assembly line is in all types of manufacturing, in footwear too. This modern day manufacturing assembly line is guided by Standard Operating Procedure short for SOP. Standard Operating Procedure in footwear is a series of customized manufacturing steps to put a shoe together based on its design.
During all my years working in footwear design, visiting footwear assembly line, I’ve realized larger part of footwear styles sharing the same basic manufacturing SOP steps even though they are very different in styles, from vulcanized canvas shoes, knitted one piece running shoes, traditional leather shoes, sandals to high tech concept footwear, etc. I am explaining these steps in details. However, below steps doesn’t apply to one type of footwear, injected footwear, such as Crocs, BIION, Havaianas, etc. which have different manufacturing steps.
Certainly with advanced technologies and machinery are used in footwear manufactory constantly. Things do change for SOP steps. For instance, one piece knitted upper reduces the amount of stitchings to be assembled, direct injection footwear reduce upper assembling altogether, a whole 3D printed sole could cut down manufactory time to half and manual labor to zero. However, all these new technologies is to advance or simplify certain areas of footwear manufacturing. The SOP steps are still applicable.
Step 1. Producing upper patterns
First upper patterns are being produced. There are many ways of producing patterns. This shoe is a genuine leather footwear I did for Mi brand. The factory is using the most classic and most used method of producing patterns by die-cutting with tooling knives (aka cookie cutters).
In stead of a “cookie” cutters patterns can also be produced by digital cutting with computer controlled knife or laser cutting. Both are much more advanced than “cookie” cutters.
There is also the knitting footwear where the entire upper is not cut in any method but knitted which no cutting tools needed whatsoever.
Step 2: Bonding of Patterns
No matter what upper pattern material is in either leather, synthetic, fabric, textile, etc. which requires a way of bonding them together. The purpose of bonding is to create one complete piece of shoe upper. There are two key methods of bonding shoe patterns together, the most common method since the invention of footwear is stitching through threads.
You can find at least one stitched bonding in all shoes, which is at the back of a shoe. There’s another type of bonding is widely used in sports footwear nowadays. That is no sewing needed but with a heat pressing machine which is kind like laminating. With no better term I just call it a no-sew technology.
Step 3: Attaching Last Board to an Upper
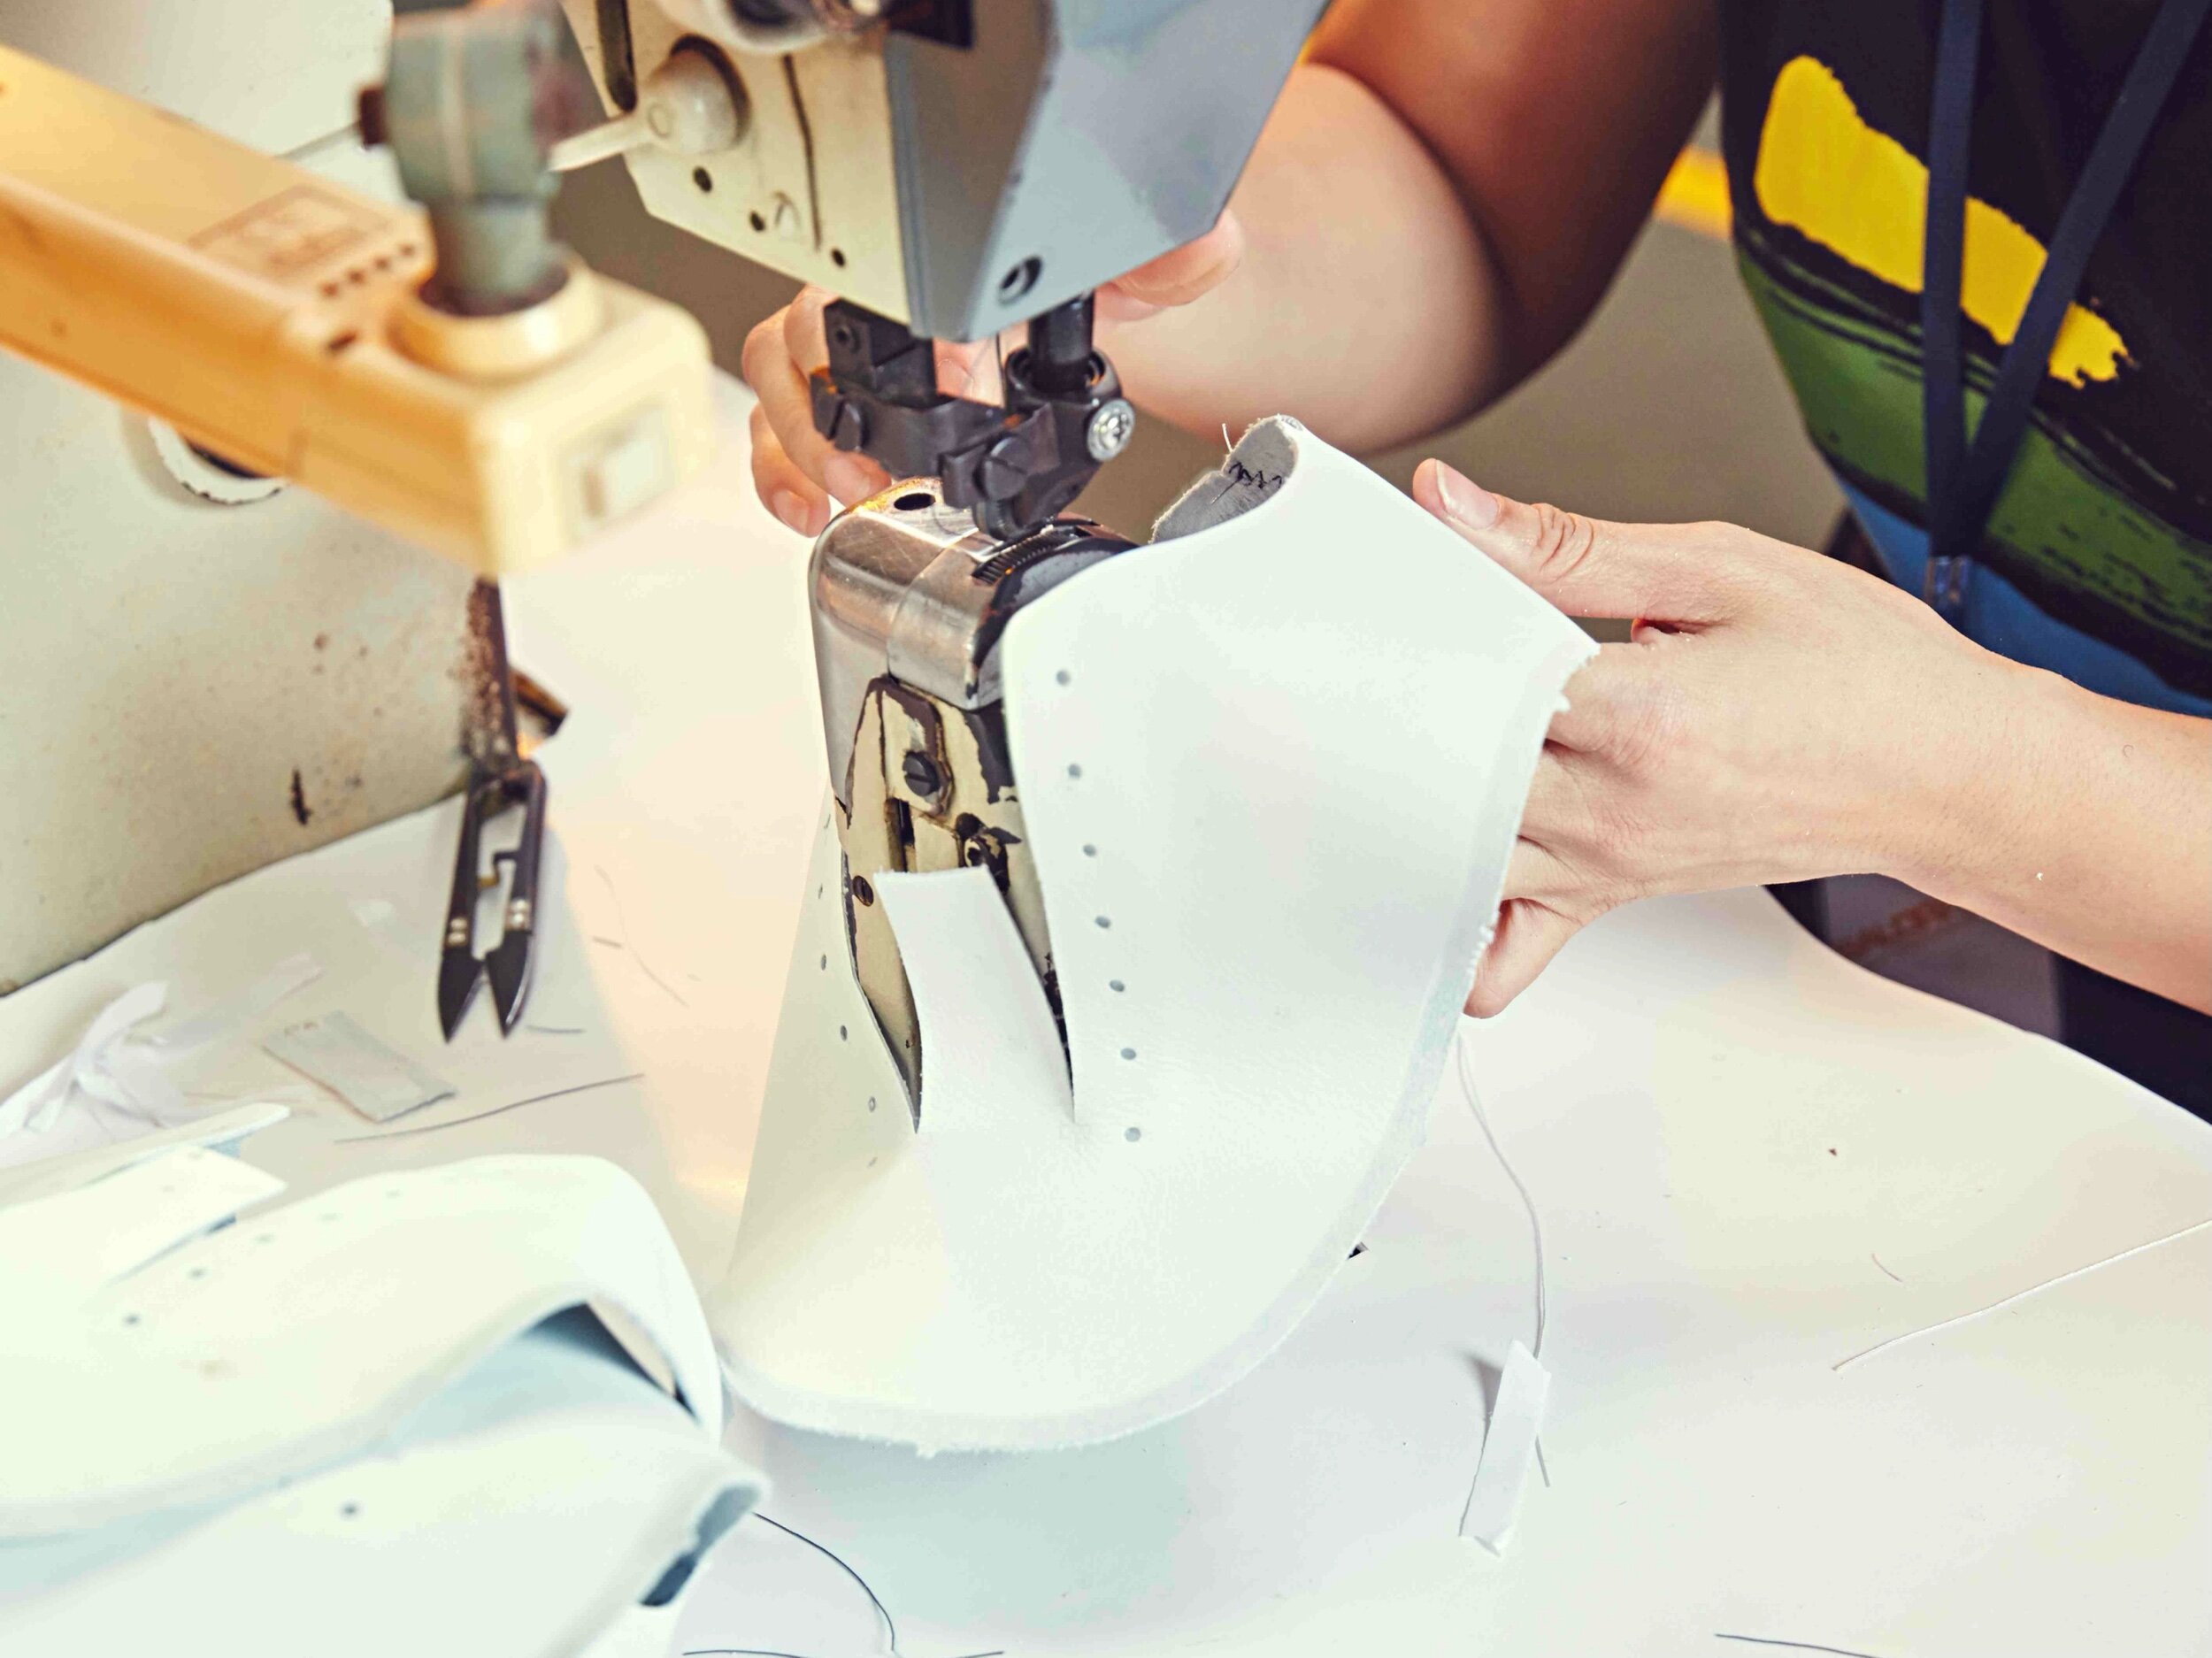
There is one unique hidden piece that is a must-have for shoe making, a last board. It is a piece of foot shape item directly attached to the entire shoe upper via stitching, cementing or both. Most sneakers are produced by stitching using a unique looking lasting board stitching device (pictured above).
Step 4: Lasting
Lasting is putting a foot shape object, shoe last, inside of a shoe to keep its form perfect during production. There are several special made machines to keep a shoe in its form. There is one for Keeping heel in place, one for shaping toe, one for keeping entire upper sit tightly on last and others. There is an in-depth explanation of Understanding Footwear Manufacturing Part 2: Creating Form. Up to this point a shoe upper is completed. Next is to put shoe bottom onto upper.
Step 5: Marking Glue Line
Before the bottom is attached to upper, a line of where upper is seated in a bottom must be marked. Since most shoe bottoms are in a cupped crate form, meaning a bottom is wrapped around bottom part of upper, where glue must be applied. This marked line indicated where glue application stops. A footwear with visible glue showing above top of a shoe sole is considered a quality control matter. Yet if glue is not enough to cover the entire top of a shoe sole it is also a quality issue.
Step 6: Applying Cement
A layer of glue or cement is being applied to both upper and bottom. Before attaching upper and bottom both are going through a heat tunnel to keep glue “dry”.
Step 7: Attaching Bottom to Upper
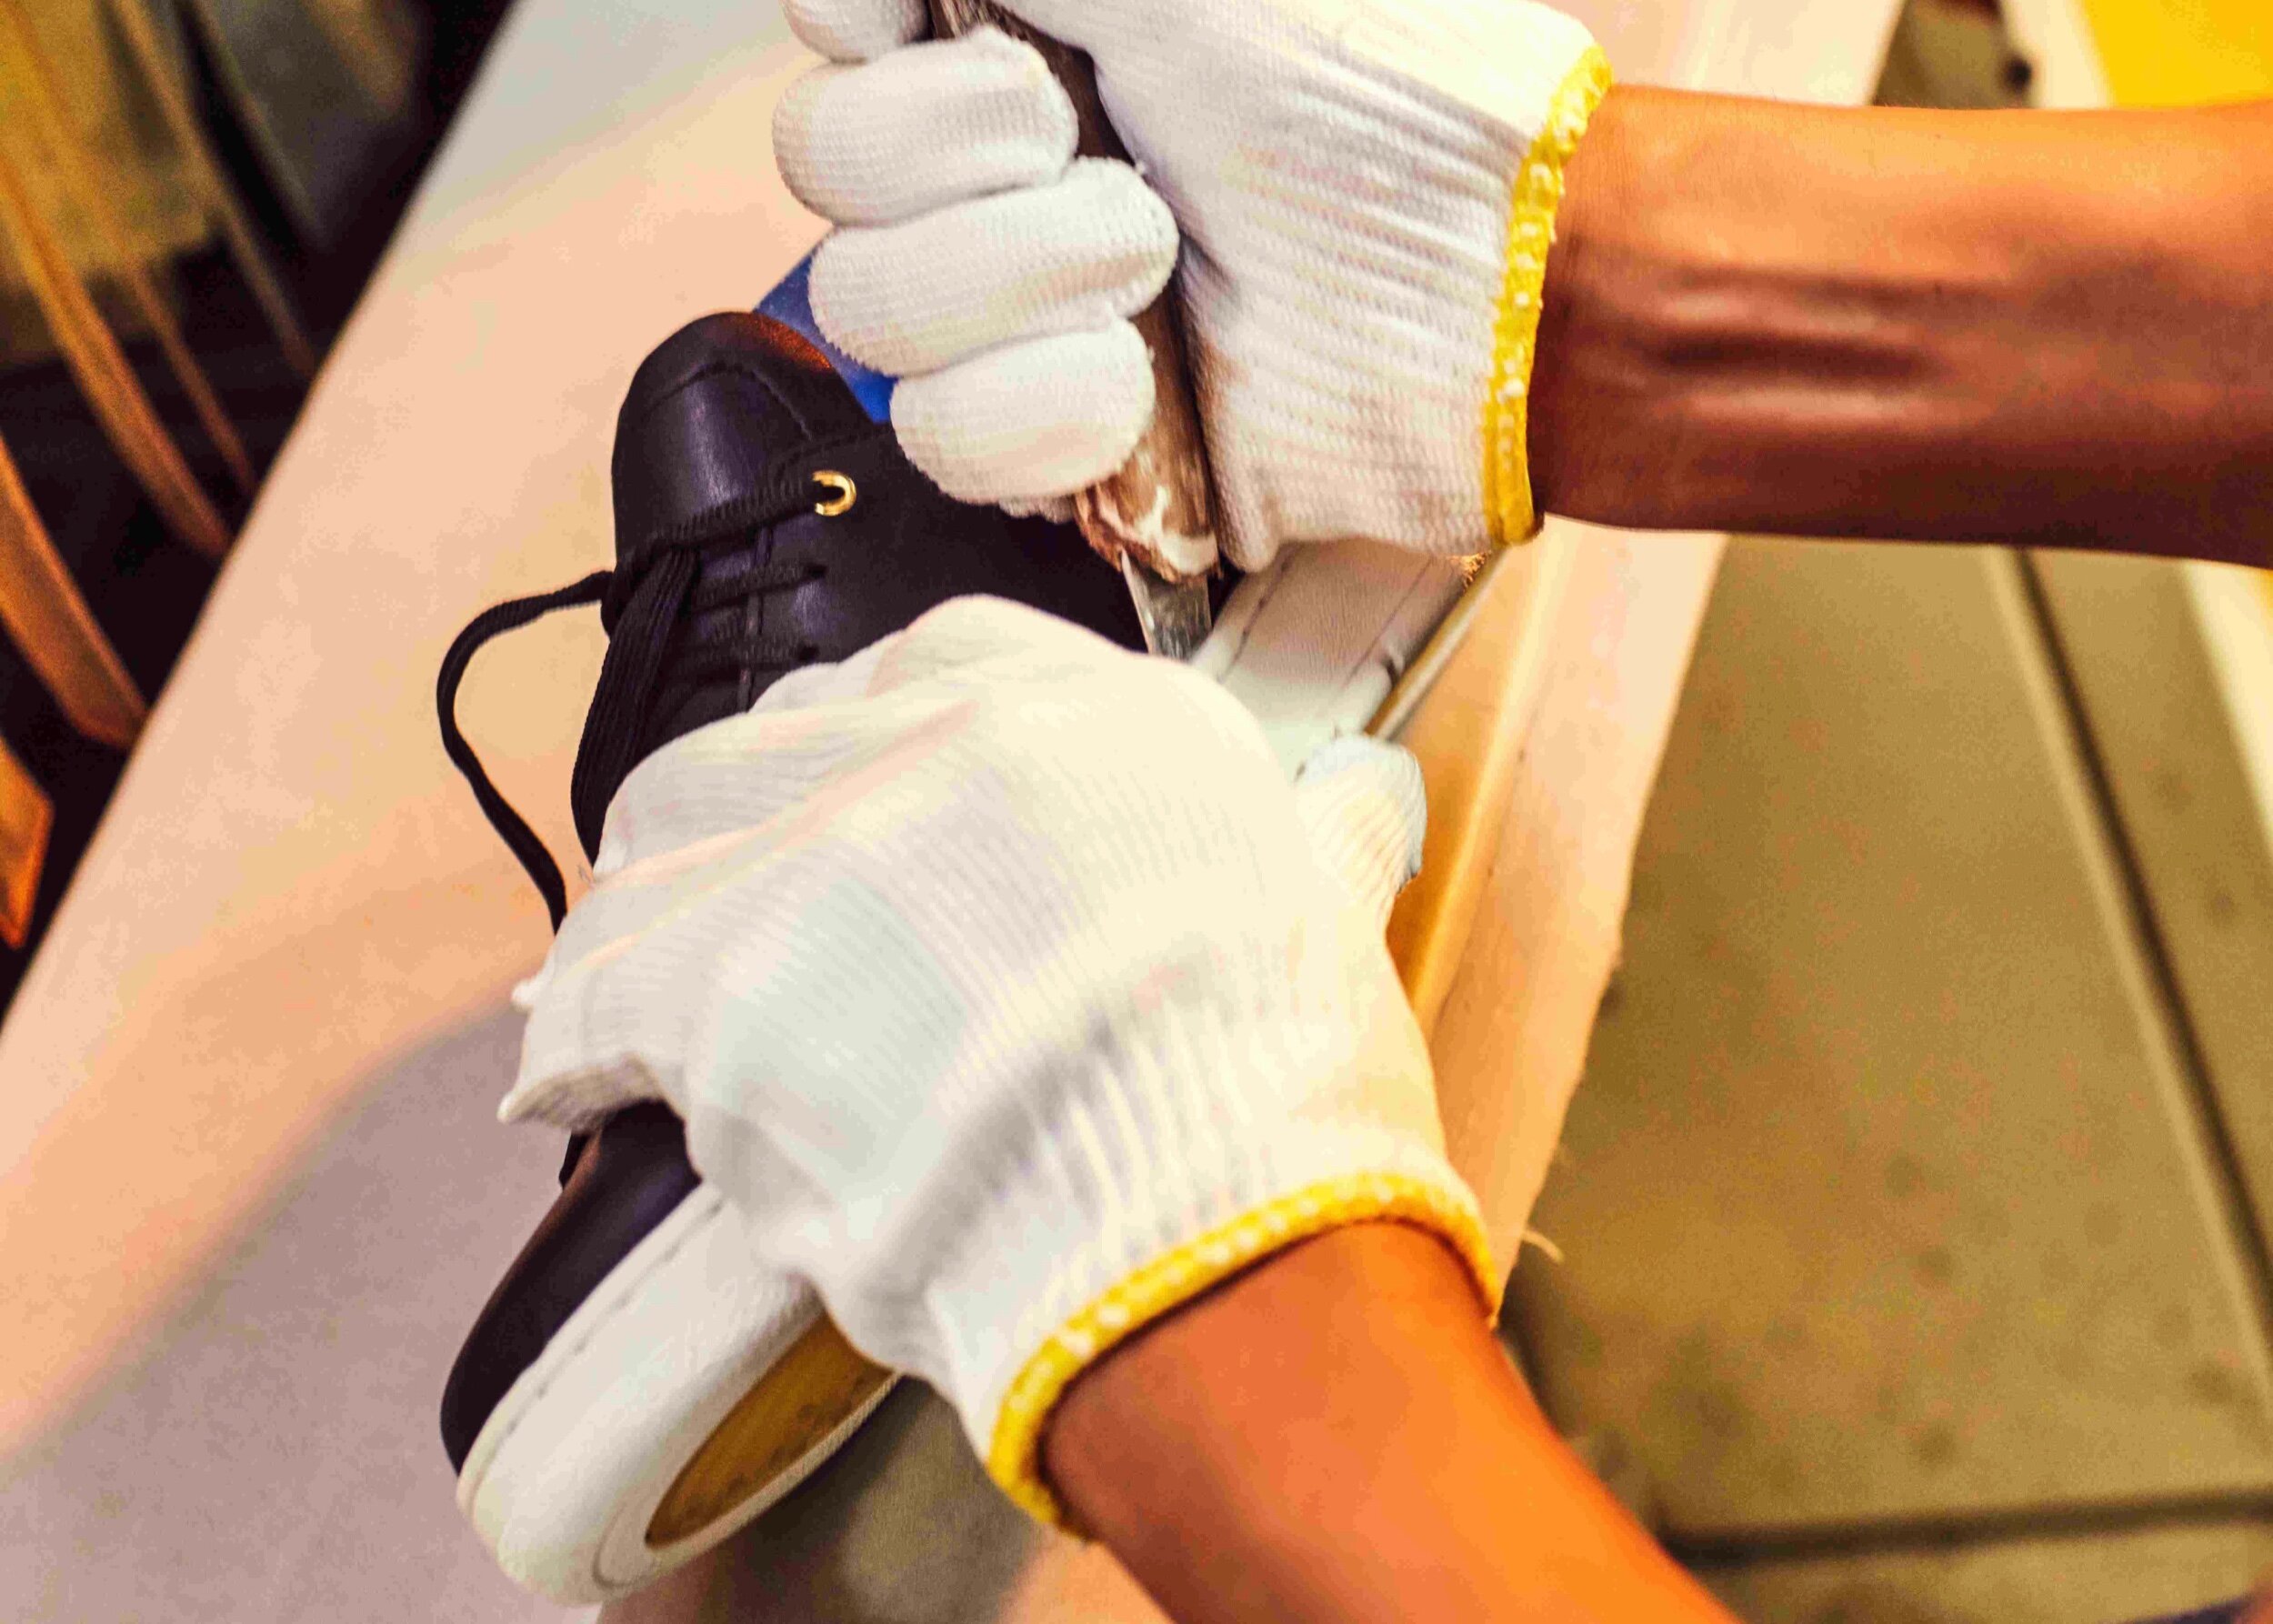
Once the entire upper is in place perfectly, the bottom is attached. Once again, stitching and cementing are the most used methods. At times both stitching and cementing will be used at the same time on one shoe, such as hand sewn dress shoes and classic cup sole sneakers like Nike Air Force 1. The attachment of bottom to upper most commonly is done with cementing. One layer of adhesive is applied to both bottom and upper (as show above). Another technology driven method is direct injection to create bottom onto an upper to have a better seal and improve on foot control, such as water resistance shoes and ECCO footwear.


